The Nameless Captive is one of three major Corrupted Gate bosses in Fainweald, found at Captive’s End inside the Prisoner’s Domain. This fight rewards players who wait for his long sword combos to fully finish before punishing—attacking too early between swings is the number one reason players die. You can summon Eredrim for 1 Glimpse to help pull aggro, and defeating the boss rewards the Captive’s Scabstone for the Great Martyr’s Blade. Completion players must attempt Peter’s Perfect Parry before killing him, or wait until New Game Plus.
The Nameless Captive location
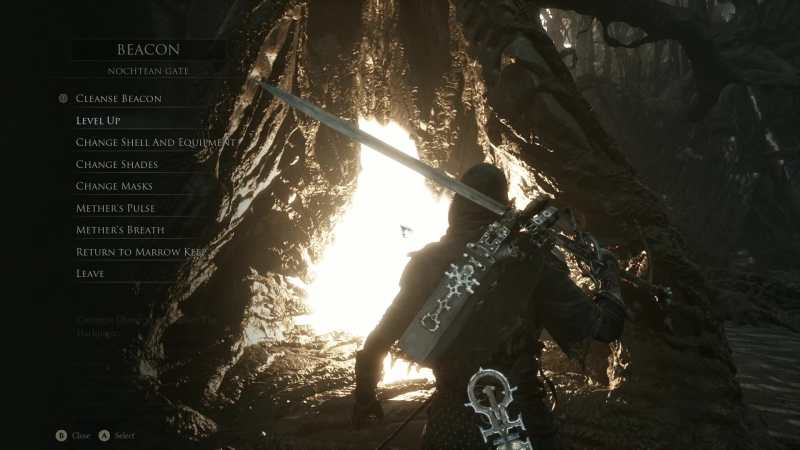
Section titled “The Nameless Captive location”The Nameless Captive is located in Prisoner’s Domain, accessed through the western/northwest Corrupted Gate in Fainweald after cleansing the Nochtean Gate beacon.
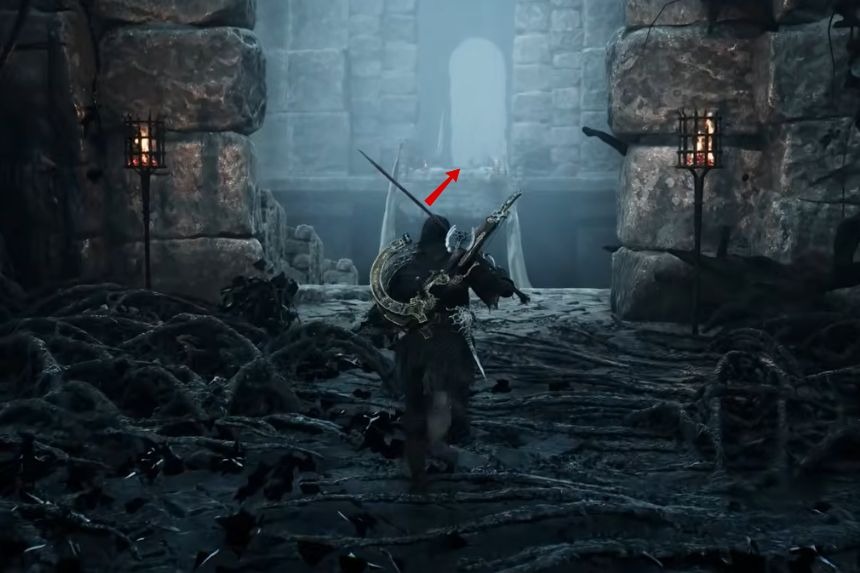
Once inside Prisoner’s Domain:
- Progress through the Executioner’s Pulpit area
- Continue past Tishina’s Confessor
- The route opens toward the boss arena at Captive’s End—a large pit where the encounter begins
What to do before dropping into the arena
Section titled “What to do before dropping into the arena”Prepare your loadout:
- Heal to full and stock consumables
- Equip a Shell and weapon from the Weapons guide that you’re comfortable with—this is a close-range melee fight with narrow punish windows
- If you want help, prepare to summon Eredrim for 1 Glimpse once inside
- Trophy hunters: Prepare the Untarnished Seal before attempting Peter’s Perfect Parry (see warning section below)
Know when to leave:
If your current damage feels unreasonably low or you’re being killed in one or two hits, you don’t have to force this encounter immediately. The Nameless Captive can be a skill check, but you can leave, upgrade your Shell and weapon, then return when you’re better prepared. The six major Gate bosses allow some freedom in approach order.
How to beat The Nameless Captive
Section titled “How to beat The Nameless Captive”The Nameless Captive uses the enormous sword through his head as his primary weapon. The fight rhythm is simple in concept but punishing in execution:
Observe → survive the full combo string → short punish → reset
The biggest mistake players make is attacking after the first or second swing. His sword combos extend into long strings, and the recovery animation between individual swings looks deceptively safe. If you attack too early, the next swing in the sequence will catch you mid-animation.
Phase 1 / opening pattern
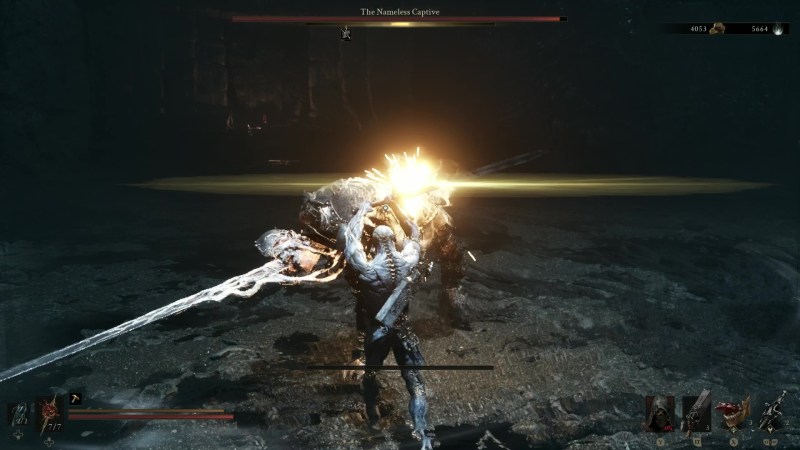
Section titled “Phase 1 / opening pattern”Early in the fight, the Nameless Captive relies heavily on multi-hit sword strings:
- Deceptive reach: The sword’s range is longer than it appears. Don’t assume you’re safe just because you’ve backed up slightly.
- Wait for full recovery: Watch for the visible exhaustion or pause at the end of the combo before committing to your punish.
- Parries work on readable attacks: You can Perfect Guard or parry many of his normal sword swings, but don’t treat every attack as parryable (see attack table below).
- Short punishes only: Land one or two hits, then reset to neutral. Greedy combos will get you killed.
Stay patient. The openings are small, but they’re consistent once you learn where each string actually ends.
Second-phase behavior
Section titled “Second-phase behavior”Around the middle of the fight, the Nameless Captive transitions into more dangerous patterns:
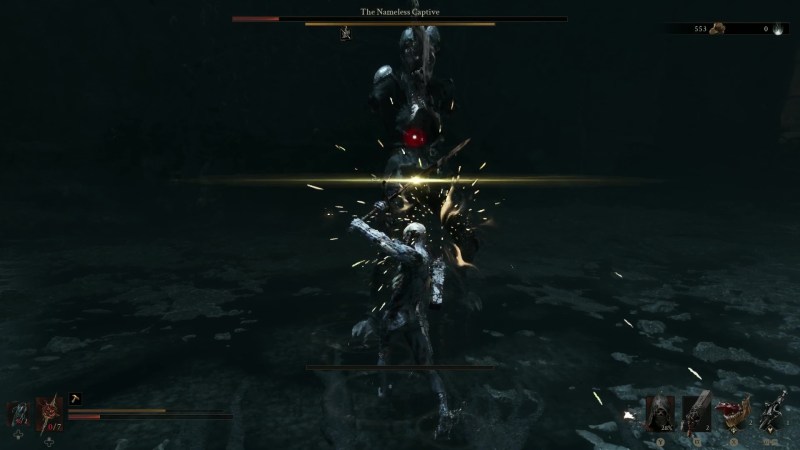
Headspin / windmill attack:
This is a rapid spinning sequence where he uses the sword embedded in his head as a windmill. For normal survival, create distance and wait it out. The spin covers a large area and lasts several seconds.
Important for trophy hunters: This attack is not unparryable. Peter’s Perfect Parry specifically requires Perfect Guarding the full seven-hit headspin sequence with the Untarnished Seal. If you’re going for the trophy, you engage with this attack deliberately. If you’re going for a normal kill, you run away.
Kick / red-warning attacks:
Later in the encounter, he introduces extremely dangerous close-range kicks and red critical attacks. These attacks are extremely punishing and can quickly destroy a Shell. When you see the red warning indicator:
- Dodge, don’t parry
- Move sideways rather than straight backward
- Do not attempt to trade damage
Leap / slam / forward pressure:
He becomes more aggressive with forward lunges and slam-style attacks. Sideways movement is safer than retreating directly backward. After dodging, don’t immediately commit to a long combo—he can chain follow-ups quickly.
Maintain central arena space:
Avoid backing into the arena edge. Losing camera visibility or getting cornered makes his long-range sword swings nearly impossible to read.
Nameless Captive attacks and counters
Section titled “Nameless Captive attacks and counters”The table below uses descriptive labels for readability:
| Attack | How to recognize it | Best response | Safe punish? |
|---|---|---|---|
| Multi-hit sword string | Repeated overhead and horizontal swings with the embedded sword | Block or dodge the full sequence; wait for visible recovery pause | Yes, 1–2 hits after recovery |
| Headspin / windmill | Crouches and begins rapid spinning with sword extended | Create distance and wait (normal kill) OR Perfect Guard all seven hits (Peter’s Perfect Parry) | No during spin; yes after if you’re close |
| Kick / red attack | Red warning indicator; close-range explosive kick | Dodge sideways immediately; do not parry | No; reset to neutral |
| Leap / slam | Jumps forward or raises sword high | Dodge sideways, not backward | Short punish if he’s in recovery |
| Stagger / knockdown | Boss staggers after sustained pressure or successful parries | Use the stagger window for a meaningful punish, then reset | Yes, use the full window |
Should you summon Eredrim?
Section titled “Should you summon Eredrim?”Eredrim is the associated Supporting Shell summon for this fight and costs 1 Glimpse to enable according to current launch coverage.
Pros:
- Pulls aggro, giving you breathing room to heal or reposition
- Creates safer windows to attack while the boss targets him
- Helpful if you’re learning the fight or struggling with the timing
Cons:
- Costs a resource you might want to save
- Not required to win
Eredrim is optional help, not a requirement. If you’re comfortable with solo fights, skip the summon. If you’re stuck and need an edge, he’s a solid choice.
Peter’s Perfect Parry warning — do this before killing the boss
Section titled “Peter’s Perfect Parry warning — do this before killing the boss”Trophy/Achievement: Peter’s Perfect Parry
This trophy requires you to Perfect Guard the complete seven-hit headspin sequence using the Untarnished Seal.
Critical warnings:
- This is missable in your current cycle if you kill The Nameless Captive first
- After the boss dies, your next reliable attempt is New Game Plus
- Prepare the Untarnished Seal before attempting Peter’s Perfect Parry.
- The headspin occurs during the second-phase behavior, usually around the middle of the encounter
- For normal survival, you run away from the headspin—for the trophy, you deliberately Perfect Guard all seven hits
Do not kill the boss until you’ve either completed the trophy or accepted waiting until NG+.
We have a full dedicated walkthrough here: Peter’s Perfect Parry guide
That guide covers Untarnished Seal acquisition, timing windows, and what to do if you miss the attempt. Don’t skip this if you care about completion.
Rewards
Section titled “Rewards”Defeating The Nameless Captive grants:
- Captive’s Scabstone — the primary boss reward, associated with the Great Martyr’s Blade
- Headcase trophy/achievement — unlocked simply by defeating the boss (no special finish required)
- Progression toward Ova collection — clearing major Corrupted Gate bosses contributes to your overall progression through Fainweald and Mammon
Captive’s Scabstone ability:
When used with the Great Martyr’s Blade, it consumes 100 Resolve to perform a wide, violent arc that strikes nearby enemies. It’s a strong area-of-effect option for crowd control.
For full upgrade paths and weapon details, see the Great Martyr’s Blade guide.
What to do after The Nameless Captive
Section titled “What to do after The Nameless Captive”After the fight:
- Complete any post-fight progression or cleansing associated with Prisoner’s Domain
- Continue your Corrupted Gate and Ova progression
- If you’re still working through the six major Gate bosses (Magdalena, The Lost Child, The Nameless Captive in Fainweald; Droeg the Conqueror, Hexapod, Isaac the Scholar Prince in Mammon), return to the wider progression route
The six Gate bosses can be approached with some freedom, so there’s no single mandatory “next boss.” Choose based on your current route and comfort level.
Common mistakes
Section titled “Common mistakes”Attacking too early in combos:
The number one death cause. His sword strings are longer than they look. Wait for the full recovery animation, not just a pause between swings.
Backing into the arena edge:
Losing camera control or getting cornered makes his long-reaching attacks impossible to read. Stay central.
Treating every attack as parryable:
Normal sword swings can be parried. Red critical attacks and the headspin (for normal kills) should be avoided, not blocked.
Killing the boss before attempting Peter’s Perfect Parry:
If you care about completion, prepare the Untarnished Seal before attempting Peter’s Perfect Parry and attempt the trophy before finishing the fight. Missing it means waiting until New Game Plus.
Assuming the headspin is “unparryable”:
Some general boss guides incorrectly describe it this way. For normal survival, running away is safe. For Peter’s Perfect Parry, you deliberately Perfect Guard the sequence. Know which strategy you’re using.
Forcing the encounter when severely underpowered:
If the fight feels unreasonably difficult—you’re doing chip damage or dying in one hit—leave and return after upgrading your Shell, weapon, or difficulty settings. The boss will still be here.
Where is The Nameless Captive?
Captive’s End, inside Prisoner’s Domain in Fainweald. Access the domain through the western/northwest Corrupted Gate after cleansing the Nochtean Gate beacon, then progress through Executioner’s Pulpit and past Tishina’s Confessor.
Can you parry The Nameless Captive?
Yes. Many of his normal sword attacks can be Perfect Guarded or parried. Red critical attacks should be dodged, not parried. The headspin can be Perfect Guarded for Peter’s Perfect Parry, but for normal kills, creating distance is safer.
How do you avoid the headspin?
Create distance as soon as you see the wind-up animation. Wait it out, then re-engage. If you’re attempting Peter’s Perfect Parry, you Perfect Guard all seven hits instead of running.
What is the best Shell summon for this fight?
Eredrim is the associated Supporting Shell for The Nameless Captive and costs 1 Glimpse. He pulls aggro and creates safer attack windows. He’s optional—use him if you want help, skip him if you prefer solo fights.
What does The Nameless Captive drop?
Captive’s Scabstone, which is associated with the Great Martyr’s Blade. The Scabstone ability consumes 100 Resolve to perform a wide arc attack.
What trophy does he unlock?
Defeating him unlocks the Headcase trophy/achievement. No special finishing condition required. Separately, he’s required for Peter’s Perfect Parry, which involves Perfect Guarding his headspin with the Untarnished Seal.
Is Peter’s Perfect Parry missable?
Yes. If you kill The Nameless Captive before completing the trophy, your next reliable attempt is New Game Plus. Prepare the Untarnished Seal before attempting Peter’s Perfect Parry and attempt the Perfect Guard sequence before finishing the boss fight.
Was The Nameless Captive nerfed in Balance Patch 1?
The published Balance Patch 1 notes list direct boss changes for The Lost Child and Monolith, but do not include a specific HP or damage adjustment for The Nameless Captive. The game is being actively patched, so future updates may change encounter balance.