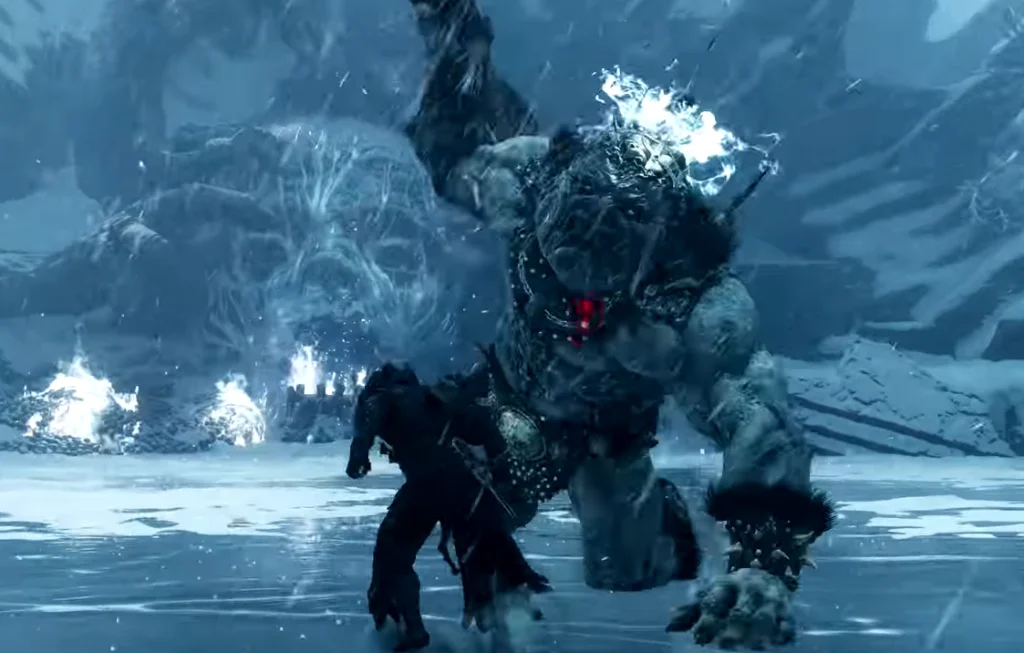
Droeg the Conqueror waits at the end of the snowed-in Conquered Temple in the Mammon region. Reach the Ovate’s Chamber Beacon after Urrig, activate it, then use the traversal gate across the gap to start the fight. In Phase 2, the red glow around Droeg’s apparent stagger signals the homing Blazing Frostfire barrage, so move immediately instead of attacking. After the kill, cleanse the Conqueror’s Hoard Beacon, collect the Ova, and take the optional cold route to the Frostshard Stone.
How to reach Droeg the Conqueror
Section titled “How to reach Droeg the Conqueror”- Enter the Conquered Temple through its Corrupted Gate in the Mammon / Sester’s Refuge branch.
- Clear the dungeon until you reach Urrig, the Executioner.
- Defeat Urrig, use the jumping pad, go upstairs, and take the elevator toward Ovate’s Chamber.
- Activate the Ovate’s Chamber Beacon. It is the last documented checkpoint before Droeg’s arena.
- From the Beacon, take the traversal gate across the gap to trigger the encounter.
You must be able to access and progress through Conquered Temple to Urrig. Droeg is one of the Corrupted Gate bosses on the Mammon branch, but the checked sources do not establish one mandatory boss order for the whole game. Do not treat a fixed number of earlier Fainweald bosses as a universal prerequisite.
Before the arena, a green summon sign can unlock Gragu for 1 Glimpse. This is optional help, not a requirement to enter or defeat Droeg. See the Gragu route if you still need that Shell.
How the fight works
Section titled “How the fight works”Phase 1: wait out the club chains
Section titled “Phase 1: wait out the club chains”Droeg’s first phase is primarily melee. His bone club has long reach, and the apparent pause after one swing may still be part of a longer chain.
The checked guides describe these attacks and tells:
| Attack | Tell | Response |
|---|---|---|
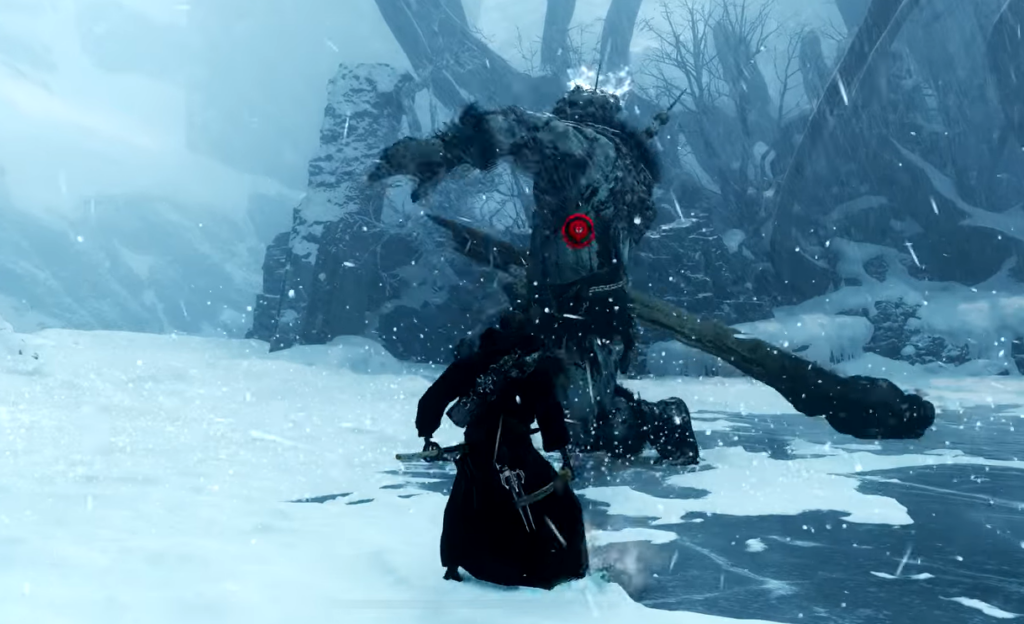
| Two wide swings | Droeg rests the club across his shoulders with the thick end pointing down | Create room for the arc and wait for the full sequence. One source recommends dodging backward for this named pattern. |
| Triple vertical slam | He throws his arms back before striking straight down three times | Dodge sideways, then confirm the chain has ended. |
| Wide, wide, then downward | A later wide-swing variation finishes with an overhead chop | Do not punish after the first two swings; wait for the overhead finish. |
| Chained ground slam | The club lifts in a long, readable wind-up | Dodge through or to the side if that matches your spacing, then punish only after the completed chain. |
| Stomp | His leg lifts while you are close | Dodge sideways and take only a short recovery punish. |
The reliable loop is read the tell → survive the full chain → land a short punish → reset. GamingProMax recommends two or three hits after a completed heavy recovery, not a long combo. If you attack on the first apparent pause, a queued follow-up can catch you.
Phase 2: the red-glow projectile bait
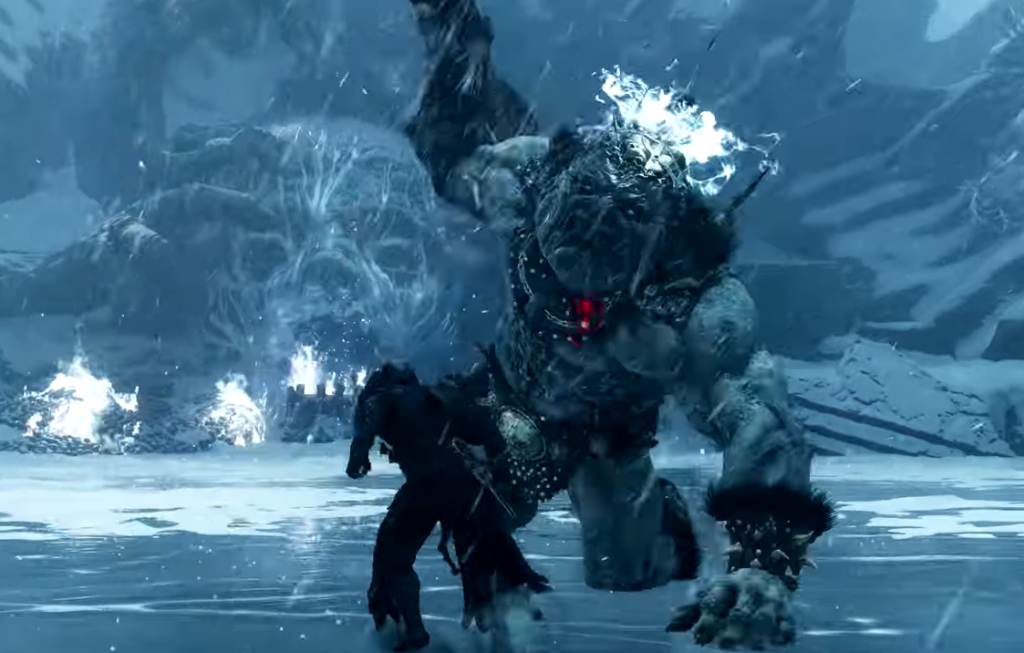
Section titled “Phase 2: the red-glow projectile bait”Around half health, the checked guides report that Droeg adds the homing Blazing Frostfire projectile barrage. The exact health percentage is not independently verified, so treat “around half health” as an approximate transition rather than a precise threshold.
The tell is deliberately misleading: Droeg may kneel, stumble, or look briefly stunned, and a red glow / warning appears around him. That is the projectile summon, not a free stagger punish.
When the red glow appears:
- Start moving immediately.
- Sprint or dodge sideways continuously while the volley is active.
- Re-engage only after the projectiles have passed.
The projectiles home toward your position and can apply Burn or ongoing fire damage as reported by the guides. Save stamina for movement instead of spending every opening on a long combo.
Phase 2 can also add extra spins before some melee swings. Wait for the actual pause and strike rather than dodging automatically at the first spin animation.
Dodge direction: preserve the source conflict
Section titled “Dodge direction: preserve the source conflict”The checked sources disagree on a universal dodge direction. AllThingsHow advises backward movement for the two wide swings and sideways movement for the vertical slam. GamingProMax recommends moving forward and to the side through swings to reach Droeg’s flank.
Do not turn either rule into an absolute. Use the attack-specific sideways response for vertical slams, preserve room for wide arcs, and choose forward, backward, or side movement based on your current spacing. The non-negotiable part is confirming that the full chain is finished before you punish.
Shell, weapon, and consumable suggestions
Section titled “Shell, weapon, and consumable suggestions”These are source-backed recommendations, not mandatory loadouts:
- Gragu: The optional summon costs 1 Glimpse to unlock from the sign before the arena. His distraction can create safer healing and punish windows while you learn the timing.
- Axatana: AllThingsHow suggests a fast weapon such as Axatana for quick strikes during the short openings. It is not the only viable weapon.
- Tiel: GamingProMax recommends Tiel’s perfect-dodge invisibility / Shadow Strike interaction as a way to turn well-timed dodges into damage opportunities. Treat this as a recommendation, not a proven best Shell.
- Burnt Effigy: AllThingsHow and GamingProMax recommend it if available because reducing Burn buildup softens projectile mistakes.
- Black Needle: Droeg’s reward is compatible with Black Needle, but you do not need to own that weapon before the fight. See the Black Needle guide and Tarstones guide for the related item context.
Rewards
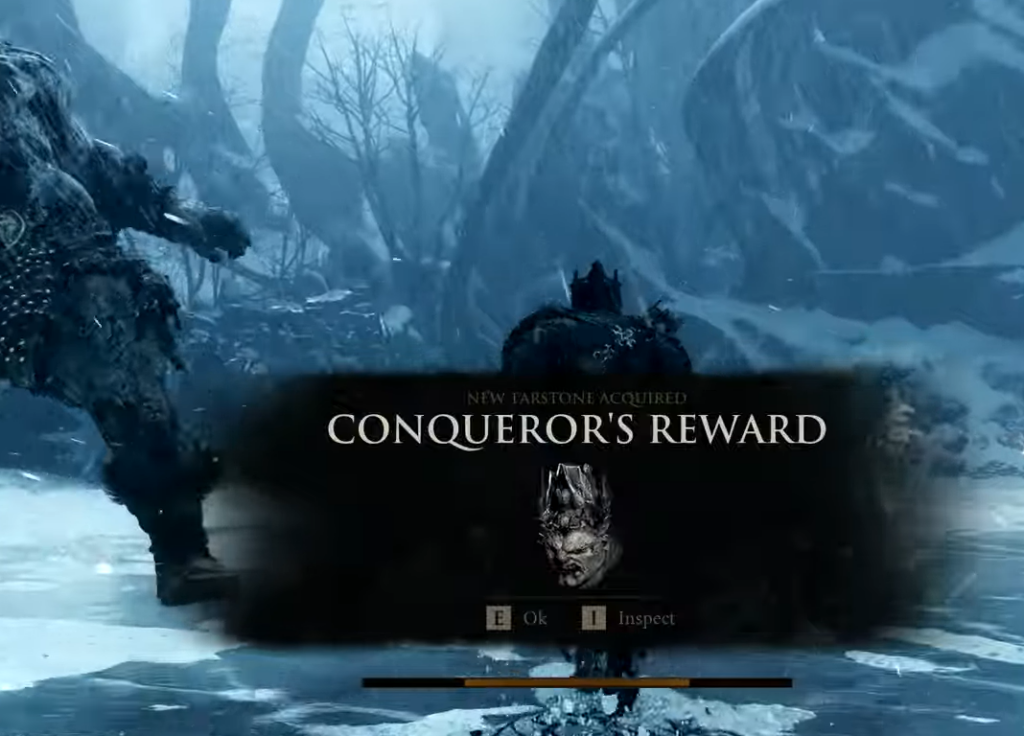
Section titled “Rewards”- Conqueror’s Reward Tarstone: This Tarstone works with Black Needle. It costs 100 Resolve to activate a fast series of piercing thrusts. AllThingsHow provides additional effect numbers; those are single-source and potentially patch-sensitive, so they are not repeated here as universal values.
- Gloom: Droeg grants Gloom. AllThingsHow lists 38,753 for its run, but that number is run/source-specific rather than a guaranteed universal payout.
- Conqueror’s Hoard Beacon and Ova: A Beacon appears in the arena after the fight. Cleanse it and collect the Ova from the pod chamber before leaving. The Ova guide covers the broader progression context.
Frostshard Stone cold detour
Section titled “Frostshard Stone cold detour”After cleansing Conqueror’s Hoard and collecting the Ova, you can continue to the optional Frostshard Stone:
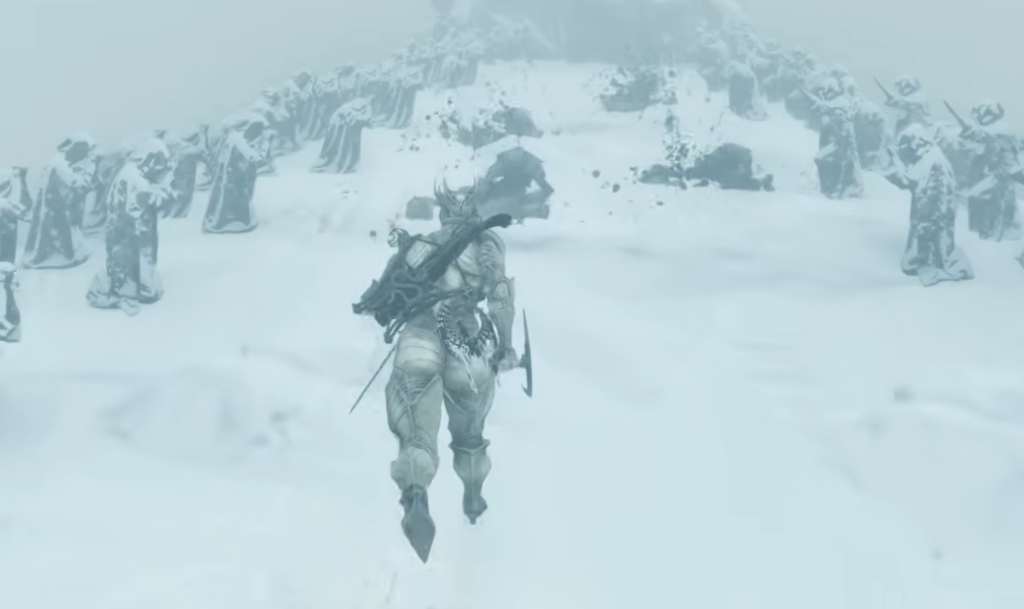
- Leave the Beacon chamber and follow the route past the praying statues.
- Pray at the large snow-covered statue.
- Cross the valley of giant stone hands.
- Cross the narrow bridge and drop down at the end.
- Open the stone chest to obtain the Frostshard Stone.
The cold area causes periodic damage, so keep moving and be ready to heal. AllThingsHow identifies Frostshard Stone as a Level 1 Common Summon/Infusion Tarstone for Solocru. Its exact Resolve and percentage details are single-source and potentially version-sensitive.
Common mistakes
Section titled “Common mistakes”- Attacking too early: A first pause may not be the end of the chain. Wait for the full recovery.
- Approaching the red glow: The apparent Phase 2 stagger is bait for the projectile barrage. Move immediately.
- Spending all stamina on offense: Keep enough stamina for the sideways movement needed during the projectile volley.
- Ignoring Gragu when you need help: The summon is optional, but the distraction can make learning the fight easier.
- Treating one guide’s numbers as universal: The reported Gloom payout and exact Tarstone details may be run- or patch-sensitive.
Trophy / achievement
Section titled “Trophy / achievement”Defeating Droeg unlocks “It burnssssssssss”, the achievement / trophy listed by XboxAchievements, Exophase, Gamer Guides, and AllThingsHow.
No checked source identifies this trophy as missable or requires a special pre-kill action. The documented unlock condition is the normal defeat. Do not carry over the separate missable warning from another boss guide.
What happens next
Section titled “What happens next”- Enter and cleanse the newly spawned Conqueror’s Hoard Beacon.
- Collect the Ova from the pod chamber.
- Take the optional Frostshard Stone detour if you want the Tarstone and can manage the cold damage.
- Return or fast-travel after the detour, then continue through the remaining Mammon branch.
The checked guides describe the other Mammon gate bosses as route-flexible. No single mandatory next boss is established by the sources, so choose the next branch based on your route and readiness.
Patch notes and version cautions
Section titled “Patch notes and version cautions”Balance Patch 1 and the checked developer patch reporting list direct changes for other bosses, economy, weapons, Tarstones, enemies, and stability. They do not list a direct Droeg health, damage, or attack-timing change. Hotfix 2.0’s Steam notes likewise focus on crashes, stability, UI, and a weapon-stealing fix rather than Droeg.
That means the safe claim is: the checked Patch 1 and Hotfix 2.0 notes do not list a direct Droeg adjustment. Future updates may still change the encounter or source-specific reward numbers.
Sources
Section titled “Sources”- AllThingsHow — Mortal Shell 2: How to Beat Droeg the Conqueror and Find the Frostshard Stone — route, attack tells, rewards, Beacon/Ova, Frostshard route, and image credits.
- GamingProMax — Droeg the Conqueror Boss Guide — Ovate’s Chamber route, Phase 1/2 descriptions, positioning, and recommendations.
- GameSpot — All Bosses In Mortal Shell 2 And How To Beat Them — Conquered Temple overview, Blazing Frostfire warning, Gragu, Black Needle reward, and Frostshard follow-up.
- Probonk — All Beacons, Dungeons & Unlocks — Ovate’s Chamber and Conqueror’s Hoard Beacon entries.
- XboxAchievements — It burnssssssssss, Exophase — Mortal Shell II Achievements, and Gamer Guides — It burnssssssssss — cross-check of the defeat trophy.
- GamesRadar+ — First Mortal Shell 2 balance patch and Steam Hotfix 2.0 release notes — checked patch scope.