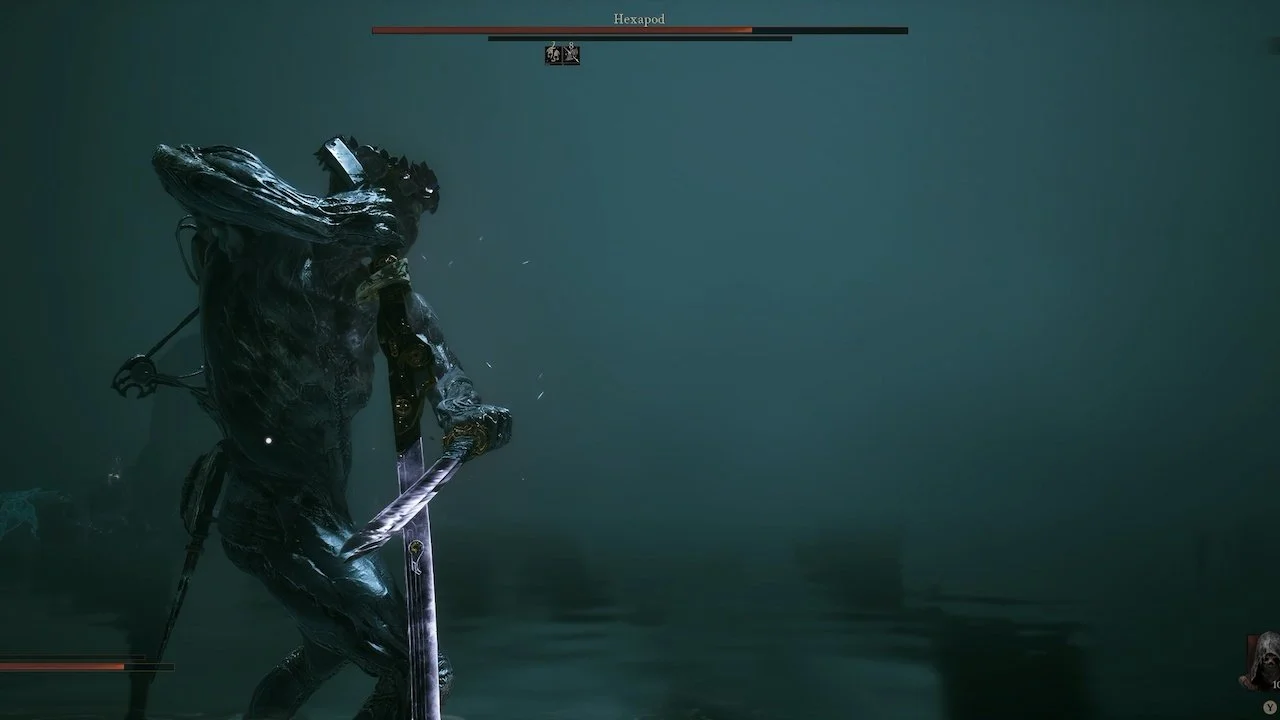
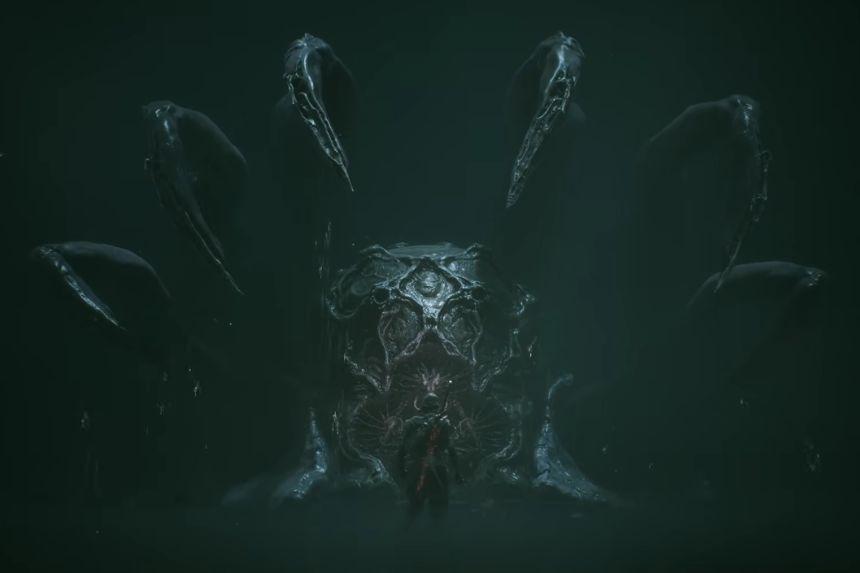
Hexapod is the final boss of Withered Shoals, the southwest Corrupted Gate in the Ruins of Mammon. Enter through the Gate of Mammon, use Nameless Pass Beacon as your approach checkpoint, follow the route below Ruk, and jump to the void to start the encounter. The safest fight rhythm is to wait for a tentacle sequence or charge to finish, land a short punish, and reset. When Hexapod jumps back and the red warning appears, dodge sideways for Squid Surge; later, dodge sideways away from the red floor indicator when it burrows.
The reward is Hexapod Core, an Axatana-compatible Tarstone. Current guides disagree on the exact Gloom payout and on whether the encounter has two phases or three stages, so those details are marked below rather than presented as universal values.
How to reach Hexapod
Section titled “How to reach Hexapod”- Enter Withered Shoals through the Gate of Mammon in the Ruins of Mammon.
- Activate the Ossinite Falls Beacon and Nameless Pass Beacon as you progress if they are still inactive. Nameless Pass is the most useful named checkpoint for the final approach.
- From Nameless Pass, follow the nearby path until you reach the area with Ruk.
- Drop to the zone below Ruk and return through the bone tunnel. GamingProMax identifies the Depleted Gland there as a useful pickup before the fight; the checked sources do not establish it as a required item.
- Before jumping to the void, use the summon sign if you want to call Proxima. The summon costs 1 Glimpse according to the checked guide coverage and is optional.
- Jump to the void. A short introduction plays, then the Hexapod encounter begins.
There is no reliable source-backed requirement for a fixed number of earlier bosses or a universal Mammon boss order. Reach the Withered Shoals gate and progress through the dungeon; do not treat another boss as mandatory unless your own route requires it.
What to prepare
Section titled “What to prepare”- Rest at the Beacon and replenish before the void jump.
- Keep the arena center readable and reserve stamina for sideways dodges.
- Bring a Shell and weapon you already control; no checked source establishes a required level, damage type, or loadout.
- If you want an ally, summon Proxima before the fight. She is the encounter-associated summon and can draw attention while using her Triarch Repeater.
- If you prefer a ranged option, the Forgotten Crossbow is recommended by Gamer Guides with the Shuddering Stone for knockback against lunges. Treat this as a recommendation, not a guaranteed interruption.
How the Hexapod fight works
Section titled “How the Hexapod fight works”The boss repeatedly turns to face you, so the most dependable plan is to read the tell, survive the complete motion, land two or three hits, and back out. GamingProMax recommends front-facing recovery punishes because the creature turns quickly; PatchCrazy describes moving around the boss while its shell is closed. Use whichever position your spacing allows instead of chasing a universal “always front” or “always back” rule.
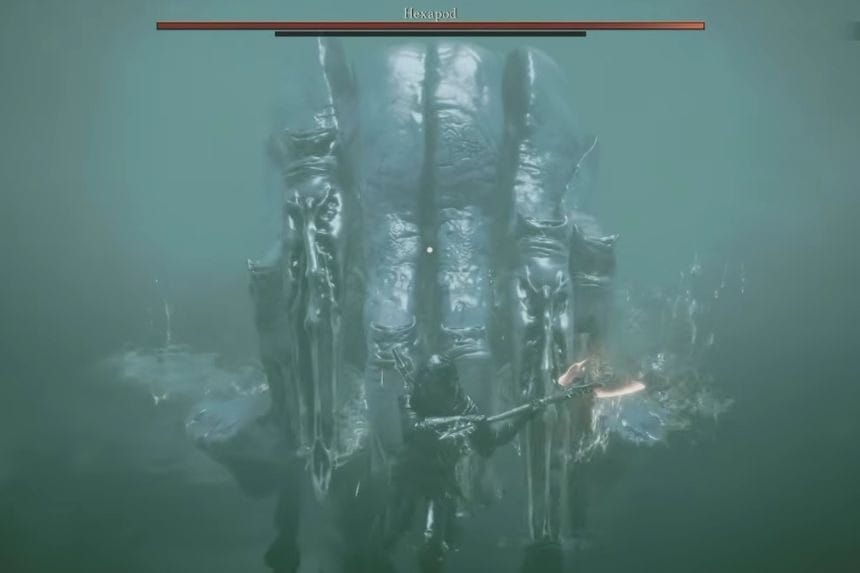
Every melee attack has a visible tentacle or shell movement before it lands. When the shell opens or a red warning appears, stop attacking and prepare to dodge.
Early melee attacks
Section titled “Early melee attacks”| Attack | Tell | Counter |
|---|---|---|
| Lateral tentacle slash | The tentacles sweep horizontally across the body. | Dodge backward to create room, or dodge through with iframes if you are confident. Confirm the sweep direction before committing. |
| Triple tentacle stab | Three tentacles line up and drive forward in a straight line. | Dodge sideways out of the stab lane, then take a short follow-up if the boss is still recovering. |
| Overhead slash | The outer tentacles lift and descend in a slow arc. | GamingProMax calls this the clearest parry opportunity. Otherwise dodge backward and take a quick two-hit punish after it lands or misses. |
| Tentacle flurry / running slash | Multiple tentacles slash rapidly while Hexapod moves toward or away from you. | Create distance and let the flurry end. Trying to dodge through every individual hit is less reliable. |
| Squid Surge | Hexapod jumps backward, a red indicator flashes, and it charges in a straight line. | Dodge sideways, not backward. Let it pass, then punish the recovery; this is one of the most consistent damage windows in the fight. |
The most important tell is the retreat plus red warning before Squid Surge. Backward movement can leave you in the charge lane. Lateral movement takes you out of the line and leaves the boss exposed after the miss.
Later phase: red warning and burrow
Section titled “Later phase: red warning and burrow”The sources use different phase labels. GamingProMax describes a two-phase fight in which a red-warning, unblockable slash creates distance before an underground sequence. PatchCrazy describes three stages, with later ranged and underwater behavior after critical-hit staggers. Because the labels do not match, use the behavior—not an exact phase number—as your cue.
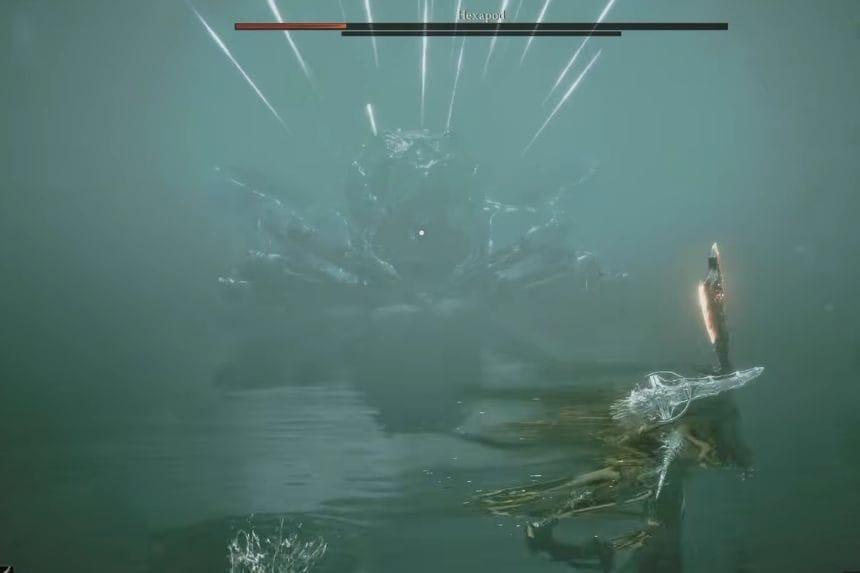
When the red-warning slash creates distance, give Hexapod room. During the later burrow, a red indicator tracks across the floor or toward your position. Dodge sideways as it approaches. If you are no longer standing on the indicator when Hexapod erupts, the boss is briefly exposed above ground; take a few hits, then reset before it repositions.
The arena is large enough to read the indicator, but it becomes much harder if you back yourself into an edge or a bone pile. Stay near the middle without standing directly in front of the boss as it recovers from a stagger. GamingProMax warns that an unblockable front grab can follow the recovery, although that caution is guide-reported rather than independently confirmed.
Later ranged and dive behavior: preserve the source limit
Section titled “Later ranged and dive behavior: preserve the source limit”PatchCrazy separately reports a ranged attack and an underwater/dive attack in its third stage. The page does not establish a stable attack name or prove that these labels are distinct from the underground behavior described by GamingProMax.
If the later ranged attack starts, move to the side and dodge continuously; PatchCrazy specifically advises against trying to parry it. Do not create excessive distance: the same source says that too much space can prompt a rapid dive from another direction. If Hexapod dives, unlock the camera, face away, run while dodging, then lock on again after it re-emerges.
Treat this as single-source later-phase advice. The safer general rule is to watch the red indicator, keep the arena center available, and re-engage only after the movement sequence ends.
Shells, weapons, and Tarstones
Section titled “Shells, weapons, and Tarstones”Proxima: the associated summon
Section titled “Proxima: the associated summon”Proxima is the most direct optional recommendation for this boss. GamingProMax says she can pull Hexapod’s attention and fire the Triarch Repeater while you apply a status effect or wait for a recovery. The summon costs 1 Glimpse in the checked coverage. She is helpful, not required.
Tiel, Genessa, and ranged options
Section titled “Tiel, Genessa, and ranged options”- Tiel: PatchCrazy recommends Tiel’s perfect-dodge invisibility, while GamingProMax points to Tiel’s Shadow Strike as a way to convert a clean Squid Surge dodge into damage. This is a build preference, not a proven best Shell.
- Sester Genessa and Black Needle: PatchCrazy suggests a Genessa/Black Needle setup with duplicates and ranged-stagger improvements. Treat the full build as single-source advice rather than a prerequisite.
- Forgotten Crossbow: Gamer Guides recommends the Forgotten Crossbow with Shuddering Stone for knockback when Hexapod lunges. Use it only if it fits your build; the checked sources do not guarantee that every lunge can be interrupted.
- Status effects: GamingProMax suggests Stasis, Burn, or Lightning while Proxima holds aggro and calls Stasis useful because it slows the boss. There is no checked evidence of an exclusive Hexapod weakness.
For the broader item rules, see the Tarstones and Tarforge guides.
Rewards
Section titled “Rewards”Defeating Hexapod gives you:
- Hexapod Core — an Axatana-compatible ability Tarstone. GamingProMax and Nerdschalk report that it costs 60 Resolve and triggers a rapid succession of slashing/striking attacks. See the Axatana guide for weapon context.
- Gloom — the checked guides disagree on the exact payout. PatchCrazy and Nerdschalk list 38,753 Gloom, while GamingProMax lists 54,250 Gloom. Treat either number as source- and version-sensitive rather than a guaranteed universal value.
- Ova/Ovum progression — a post-fight Beacon appears in the arena area. Cleanse or activate it and collect the associated Ova/Ovum before leaving. GameSpot explains that the final Beacon in a major dungeon appears after its main boss and supports campaign progression.
- “Something in the deep…” — the achievement/trophy for defeating Hexapod.
Trophy and missable status
Section titled “Trophy and missable status”“Something in the deep…” requires you to defeat Hexapod. XboxAchievements, TrueAchievements, Gamer Guides, and PatchCrazy agree on that normal defeat condition.
No checked source identifies a special weapon, Shell, summon, attack, or pre-kill interaction for this trophy. No Hexapod-specific missable condition was found in this research pass. That does not replace a platform-specific bug check, but you do not need to delay the kill for a documented Hexapod trophy action.
What happens after Hexapod
Section titled “What happens after Hexapod”- Find the post-fight Hexapod’s Burrow Beacon in the misty arena area and cleanse or activate it.
- Collect the associated Ova/Ovum.
- Use the Beacons and Fast Travel guide to return to Mammon exploration or another unlocked checkpoint.
- Slot Hexapod Core into the Axatana if you own that weapon, then review the Tarstones and Axatana guides for upgrade context.
The checked sources do not prove a single mandatory next boss order. Choose the next Mammon branch based on your current route and readiness.
Common mistakes
Section titled “Common mistakes”- Dodging backward from Squid Surge: The backward lane can overlap the charge. Dodge sideways when the red indicator flashes.
- Attacking while the shell opens: Stop attacking as the shell opens or a red warning appears; prepare for the next movement instead.
- Chasing the creature around its sides: Hexapod turns quickly. Wait for a recovery window rather than forcing a flank.
- Running to the arena edge: The red floor indicator and later dive are easier to read with the center open.
- Trying to parry the later ranged attack: PatchCrazy recommends lateral dodging rather than parrying for that single-source behavior.
- Treating a Gloom number as guaranteed: Current sources list different payouts, so do not plan an upgrade budget around one unqualified figure.
Patch and version notes
Section titled “Patch and version notes”Balance Patch 1 reporting checked through GamesRadar names direct boss changes for The Lost Child and Monolith, along with economy, weapon, Tarstone, enemy, and stability changes. It does not list a direct Hexapod health, damage, phase, or attack-timing adjustment.
The safe claim is therefore: the checked Balance Patch 1 notes do not list a direct Hexapod adjustment. That does not guarantee the encounter will remain unchanged in future updates, and it does not resolve the conflicting Gloom totals or phase labels above.
Sources
Section titled “Sources”- Gaming ProMax — Hexapod Boss Guide — route from Nameless Pass, Depleted Gland, Proxima, attack tells, Squid Surge, burrow sequence, Hexapod Core, and one Gloom total.
- PatchCrazy — How To Beat The Hexapod Boss — alternate phase framing, shell-opening behavior, ranged/dive cautions, builds, reward conflict, and achievement.
- GameSpot — All Ruk’s Maps And Fast Travel Beacons — Gate of Mammon, Withered Shoals Beacon context, and post-boss Beacon/Ova behavior.
- Gamer Guides — All Bosses Locations — attack summary and Forgotten Crossbow/Shuddering Stone recommendation.
- XboxAchievements — “Something in the deep…” and TrueAchievements — Mortal Shell II Achievements — defeat condition cross-check.
- Gamer Guides — “Something in the deep…” — PlayStation trophy cross-check.
- Nerdschalk — Mortal Shell 2 enemies, weaknesses, and drops and Axatana guide — Hexapod Core compatibility, Resolve, and alternate Gloom listing.
- GamesRadar+ — First Mortal Shell 2 balance patch — checked patch scope.