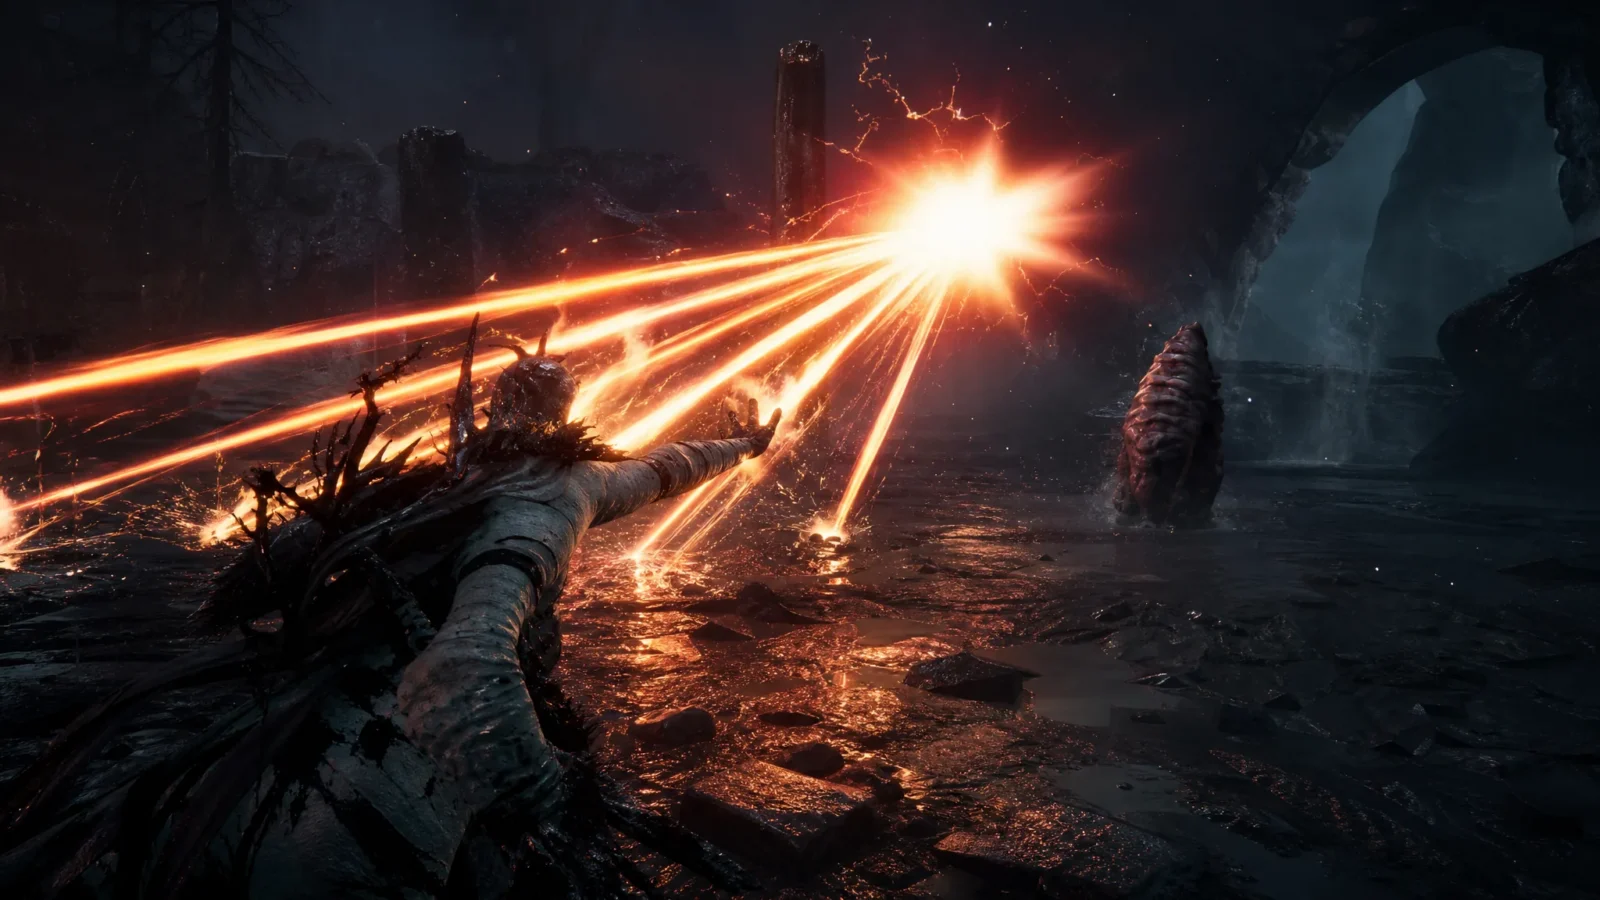
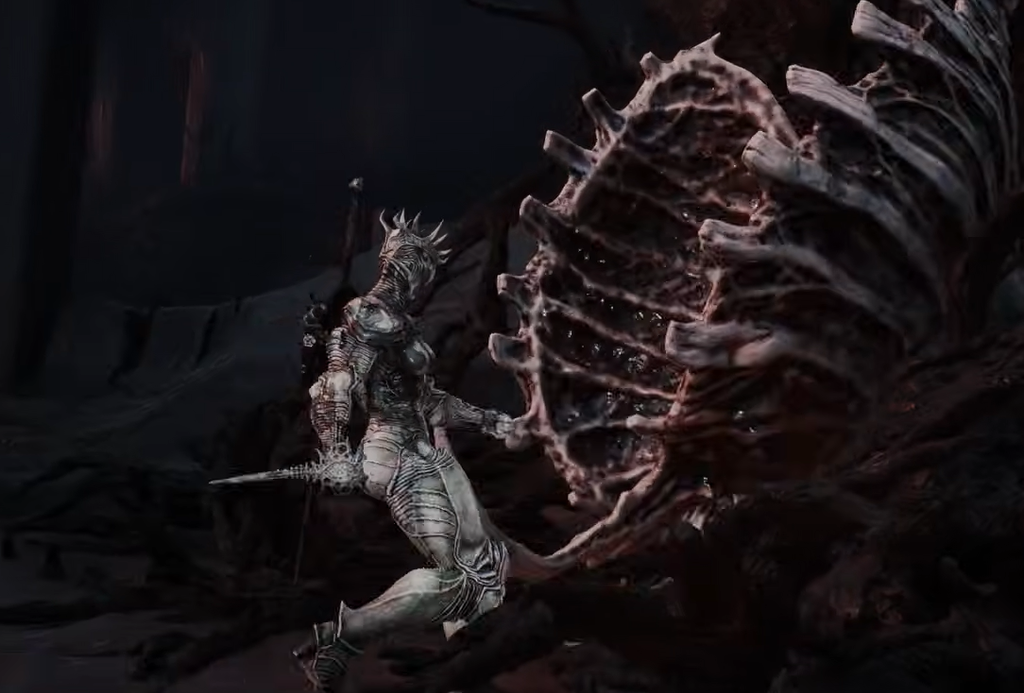
Monolith is the guardian at the end of the Obsidian Vault branch in The Unfound Path. The safe loop is simple but slow: leave the landing zone when it jumps, hit the exposed fleshy center for a short string after recovery, and reset before the next animation. Below roughly half health, beams cross the arena and a rotating beam sweep changes the fight into a timing test. After Monolith dies, sever the red gland in the arena; the boss kill by itself is not the final progression interaction.
How to reach Monolith
Section titled “How to reach Monolith”Monolith is in The Unfound Path, the late-game dungeon reached through the Ova progression. Enter the Obsidian Vault branch and use the Obsidian Vault Beacon, then continue through the branch to its dedicated arena.
The Unfound Path has three guardian branches. Monolith protects Obsidian Vault; Orrem protects Bridge of Procession, while Malborn Offspring protects Faithful’s Shelter. The available sources support the branch and Beacon names, but they do not provide an auditable turn-by-turn interior map. Do not rely on invented corridor counts or map coordinates.
If you are not at the endgame yet, use the Ova guide for the wider progression loop. For checkpoint and fast-travel context, see Beacons & Fast Travel.
What to prepare
Section titled “What to prepare”- Bring a Shell and weapon whose timing you already know. All Things How reports that Monolith has no spectral Shell summon, so do not plan to spend a Glimpse on an ally for this fight.
- Refill healing and sidearm resources before entering the arena. The boss has a large health pool and the fight can run long.
- If you want a source-backed loadout to test, Nerd’s Chalk recommends Proxima for survivability and Black Needle for quick reach-based pokes at the exposed center. Its suggested Burnt Effigy is intended to reduce Burn pressure during the beam phase. See Proxima and Black Needle.
- All Things How gives a different practical option: a mobile Shell such as Genessa, the Wayward with the Axatana. That pairing is presented as a movement-oriented suggestion, not a requirement. See Axatana.
These are recommendations from guides, not mandatory prerequisites. Any durable Shell and familiar weapon can work if you can keep the boss visible and leave after a short punish.
Monolith fight strategy
Section titled “Monolith fight strategy”Opening phase: body slams and the exposed center
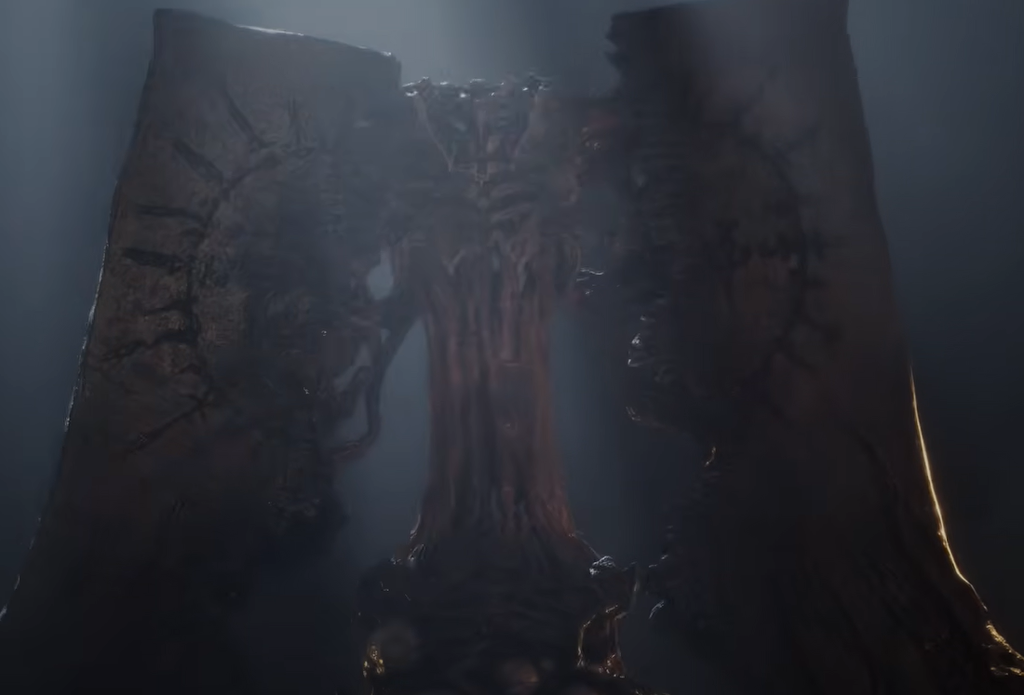
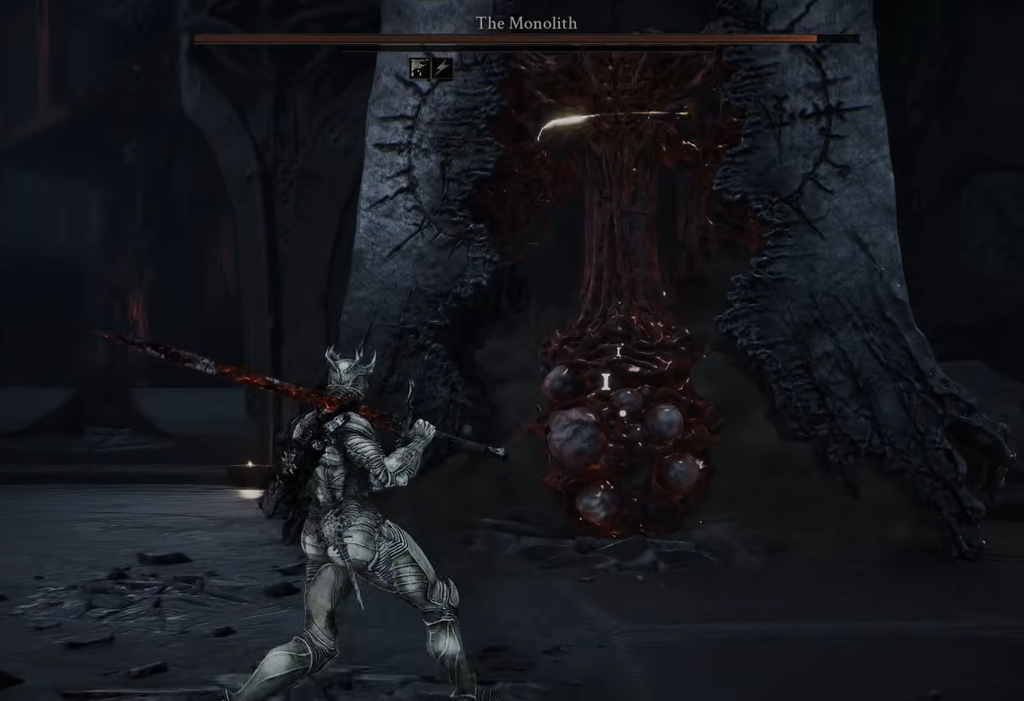
Section titled “Opening phase: body slams and the exposed center”Monolith’s early pressure is built around jumping body slams. When the boss lifts and a landing area forms, leave that area rather than trying to trade under it. Wait for the impact and recovery before moving back in.
The stone halves open around a fleshy middle. That center is the main damage target reported by Nerd’s Chalk. When it opens and the boss is recovering, land about two quick hits, then get out. If the center closes or the boss begins another motion, stop chasing damage.
The repeatable rhythm is:
- Keep enough space to see the jump and the landing area.
- Sidestep the slam and wait for the recovery.
- Move to the open center and take a short two-hit punish.
- Reset your spacing before the next attack.
The sources describe the same transition differently: GameSpot and All Things How present an opening section followed by the beam section, while Nerd’s Chalk describes three escalating stages. They agree on the important breakpoint—beam pressure begins around the halfway point—but the exact stage labels are not a confirmed in-game naming convention.
Beam phase: dodge on the sweep
Section titled “Beam phase: dodge on the sweep”Below roughly half health, Monolith begins firing beams across the arena. It can also rotate while the beams are active, sweeping the hazard through the space around it.
Do not dodge as soon as the beam begins its animation. Keep the beam in view and roll when it reaches your position. Rolling early leaves you exposed when the actual sweep arrives. If you fight from range, do not try to outrun the first beam in a straight line; use a practiced lateral dodge instead.
There are two supported ways to manage distance:
- Stay farther out and circle until a beam set ends, then step in for a short punish.
- Stay nearer the boss and dodge the shorter beam arcs if that timing is more consistent for you.
The sources do not establish one universal best distance. Choose the spacing you can repeat without losing sight of the beam origin or the boss’s next motion.
Attacks, tells, and punish windows
Section titled “Attacks, tells, and punish windows”| Attack or tell | What to do | Punish window |
|---|---|---|
| Jumping body slam | Leave the landing shadow or impact line; do not roll backward into the same space | Return after impact and recovery; use the open center briefly |
| Exposed fleshy center | Move in only while the center is open and the boss is recovering | About two quick hits, then disengage |
| Center closes or side-roll begins | Stop attacking and reset | None until a new opening |
| Straight beam across the arena | Keep moving and time the dodge as the beam reaches you | Gap between beam sets if the boss is still recovering |
| Rotating beam sweep | Circle with the arena and dodge on the sweep’s timing | Short gap after the sweep; do not force a hit |
| Hard-to-read motion | Dodge instead of forcing an unpracticed parry | Re-engage after the animation finishes |
The reviewed reports use descriptive labels rather than a complete official move list. This page therefore does not claim exact names, frame timings, or that every Monolith attack is parryable. Dodging is the safer default when the tell is unclear.
Reward and missable check
Section titled “Reward and missable check”Monolith drops the Monolith Fragment. GameSpot and All Things How both report a 5,000-coin/tar trade value; follow the currency label shown by your installed build rather than assuming the wording is identical across versions.
No Monolith-specific missable trophy is confirmed in the reviewed sources. That is an evidence boundary, not proof that no platform or build has an associated achievement. The page should not promise a trophy-free encounter or invent a pre-kill checklist.
What to do after the kill
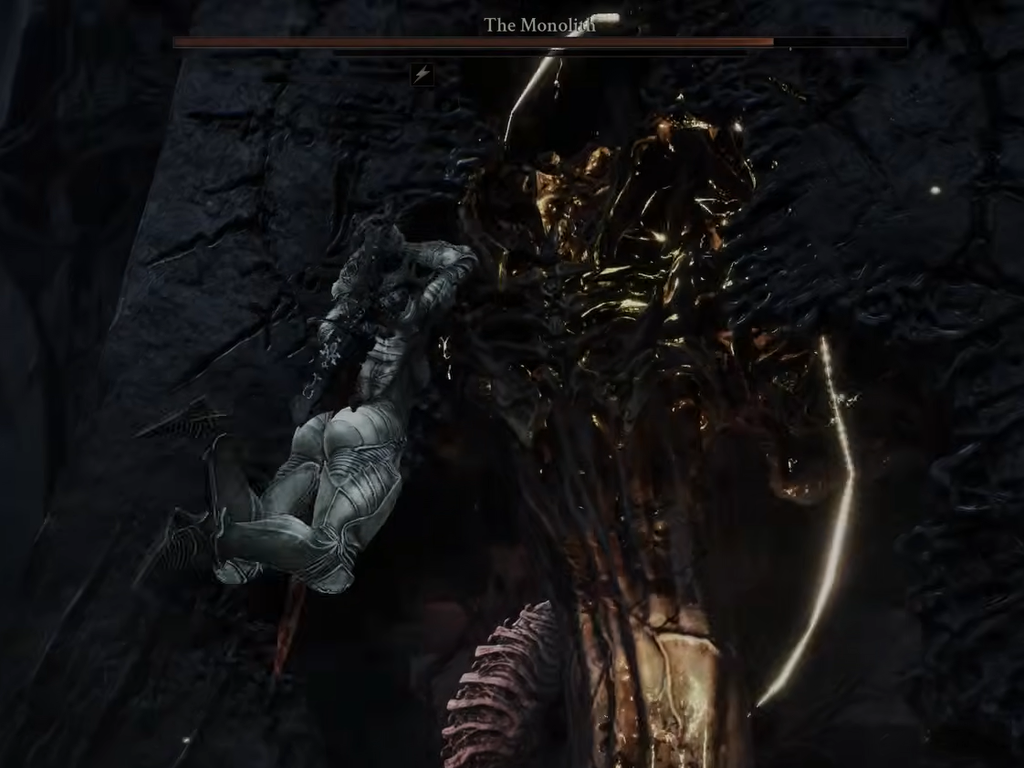
Section titled “What to do after the kill”Walk to the red gland hanging in the arena and use the sever interaction. Wait for the transition or other progression confirmation before leaving. This clears the Obsidian Vault branch’s tendril contribution.
The remaining Unfound Path guardians are Orrem and Malborn Offspring. After the three branch tendrils are resolved, the endgame route continues toward Zmey the Unbidden. The broader boss sequence belongs in the Bosses guide, while Balance Patch 1 covers the current patch context.
Balance Patch 1
Section titled “Balance Patch 1”Balance Patch 1 reports these Monolith changes:
- Base damage reduced by 19%.
- Maximum health reduced by 10%.
- Some Monolith attacks retimed to be fairer.
The developer announcement was reported as PC-first, with console rollout following platform timing. Exact per-attack timing changes were not published in the sources reviewed, so older videos may not line up perfectly with the current build. Check the installed patch on console rather than assuming the PC timing applies immediately.
Sources and uncertainty
Section titled “Sources and uncertainty”- GameSpot — All Bosses In Mortal Shell 2 And How To Beat Them — Unfound Path placement, beam transition, summon availability, reward.
- All Things How — How to Beat The Monolith in the Obsidian Vault — route, Obsidian Vault Beacon, attack table, beam timing, gland interaction, reward.
- Nerd’s Chalk — How to Beat the Monolith Boss — exposed-center strategy, Proxima/Black Needle/Burnt Effigy suggestion, spacing alternatives.
- Gamer Guides — All 45 Bosses Locations — independent Obsidian Vault and laser corroboration; its exact Gloom number remains unverified here.
- GamesRadar — First Mortal Shell 2 Balance Patch — patch reporting and developer announcement context.
- Balance Patch 1 developer announcement repost — itemized Monolith damage, health, and retiming changes.
Uncertain claims kept explicit: sources differ on two versus three phase labels; the exact Gloom reward is not cross-verified; close versus ranged beam spacing is player-dependent; exact interior route turns and Ova threshold are outside the audited evidence; and no Monolith-specific missable trophy was confirmed by the reviewed sources.